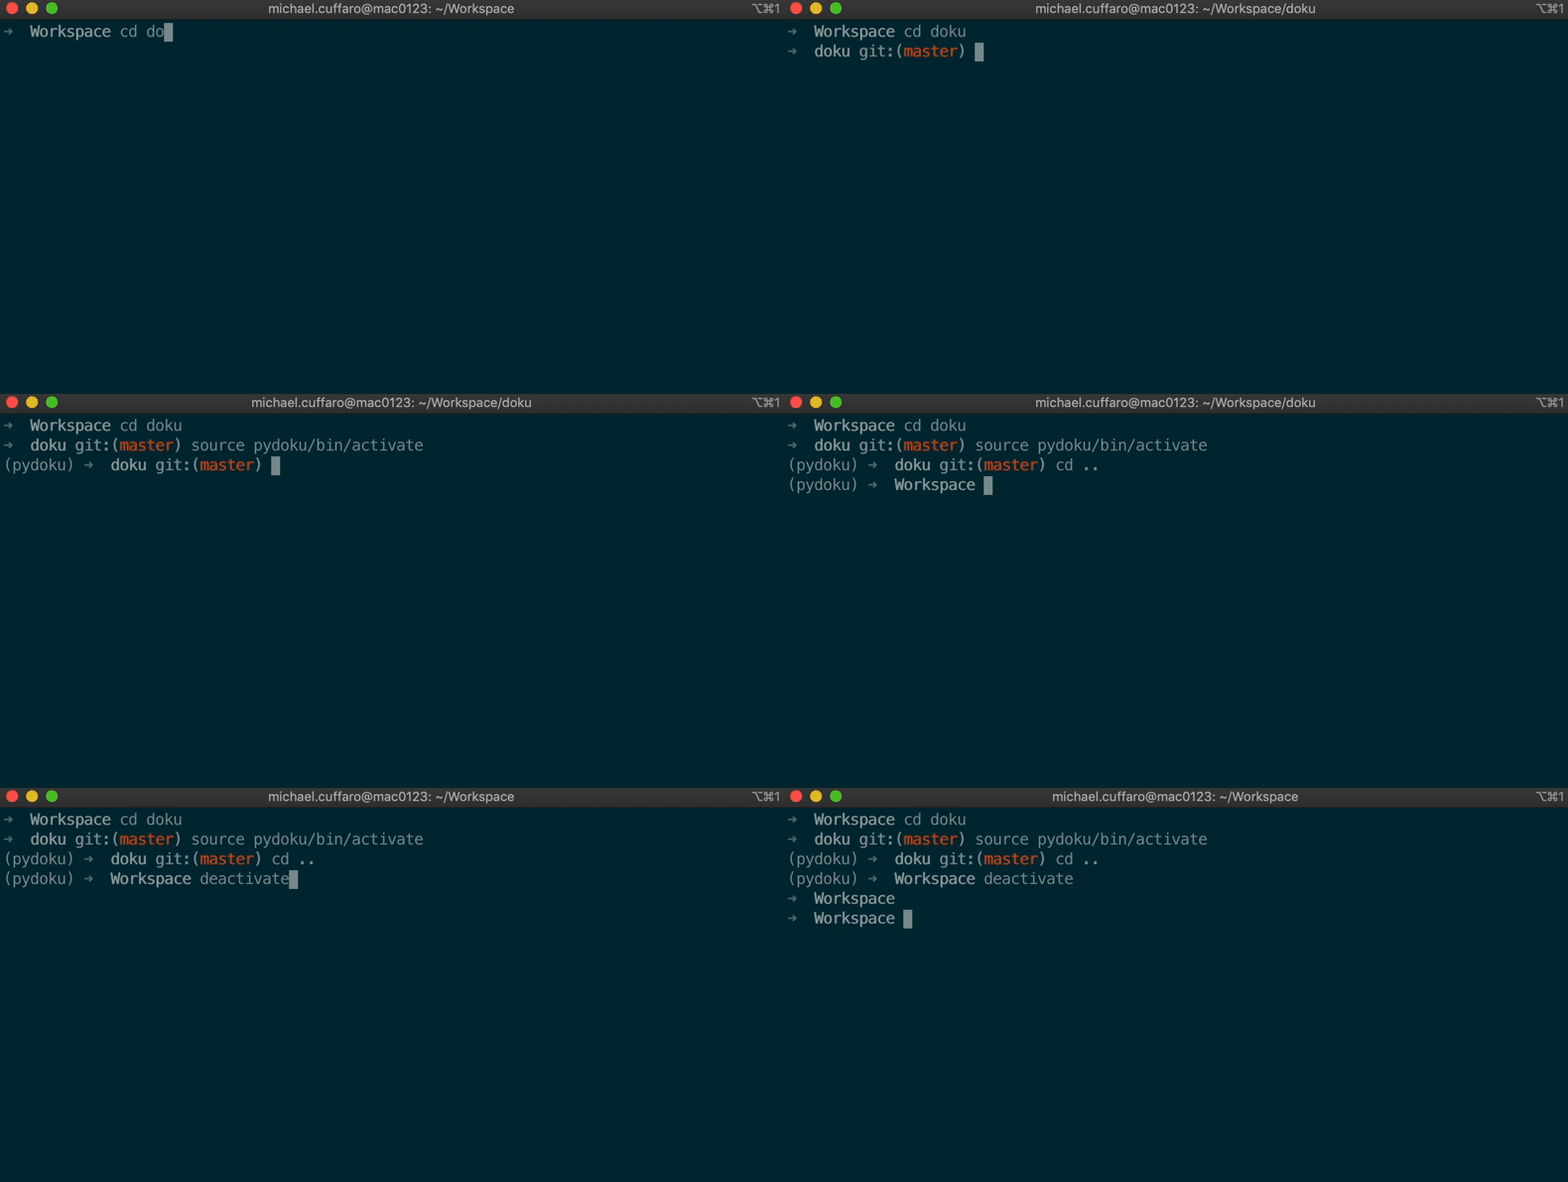
Easy workflow for switching Python virtual environments
The problem I set out to solve was simply to avoid manually typing pyenv/venv commands when moving into directories containing different projects, and around my directory tree.

If you are like me, you would be working on different things at different times, and switching projects around seamlessly becomes a requirement to avoid waste of time, attention and context.
My environment
For the sake of clarity, I am using a Macbook Pro with macOS Mojave, and I have iTerm2 set up with ZSH and oh-my-zsh as my shell.
Virtualenvwrapper
Essentially I opted to use virtualenvwrapper instead of pyenv, which I had been using for a few months before. This nifty library contains a feature called workon, that allows one, among other things, to activate separate Python environments.
From the virtualenvwrapper’s docs:
Install with Pip
virtualenvwrapper should be installed into the same global site-packages area where virtualenv is installed. You may need administrative privileges to do that. The easiest way to install it is using pip:
| |
Shell Startup File
Add three lines to your shell startup file (.zshrc, .bashrc, .profile, etc.) to set the location where the virtual environments should live, the location of your development project directories, and the location of the script installed with this package:
| |
Manage your virtualenvs
Also from the docs, here is a quick list of commands to get started with workon:
| |
A list of environments, empty, is printed.
| |
A new environment, temp is created and activated. It copies the current version of python to make it.
| |
This time, the temp environment is included.
| |
Activates that environment
| |
Deactivates that same environment
Now that we have an easy way to separate and use our virtual environments, let’s talk about Jump!
Jump
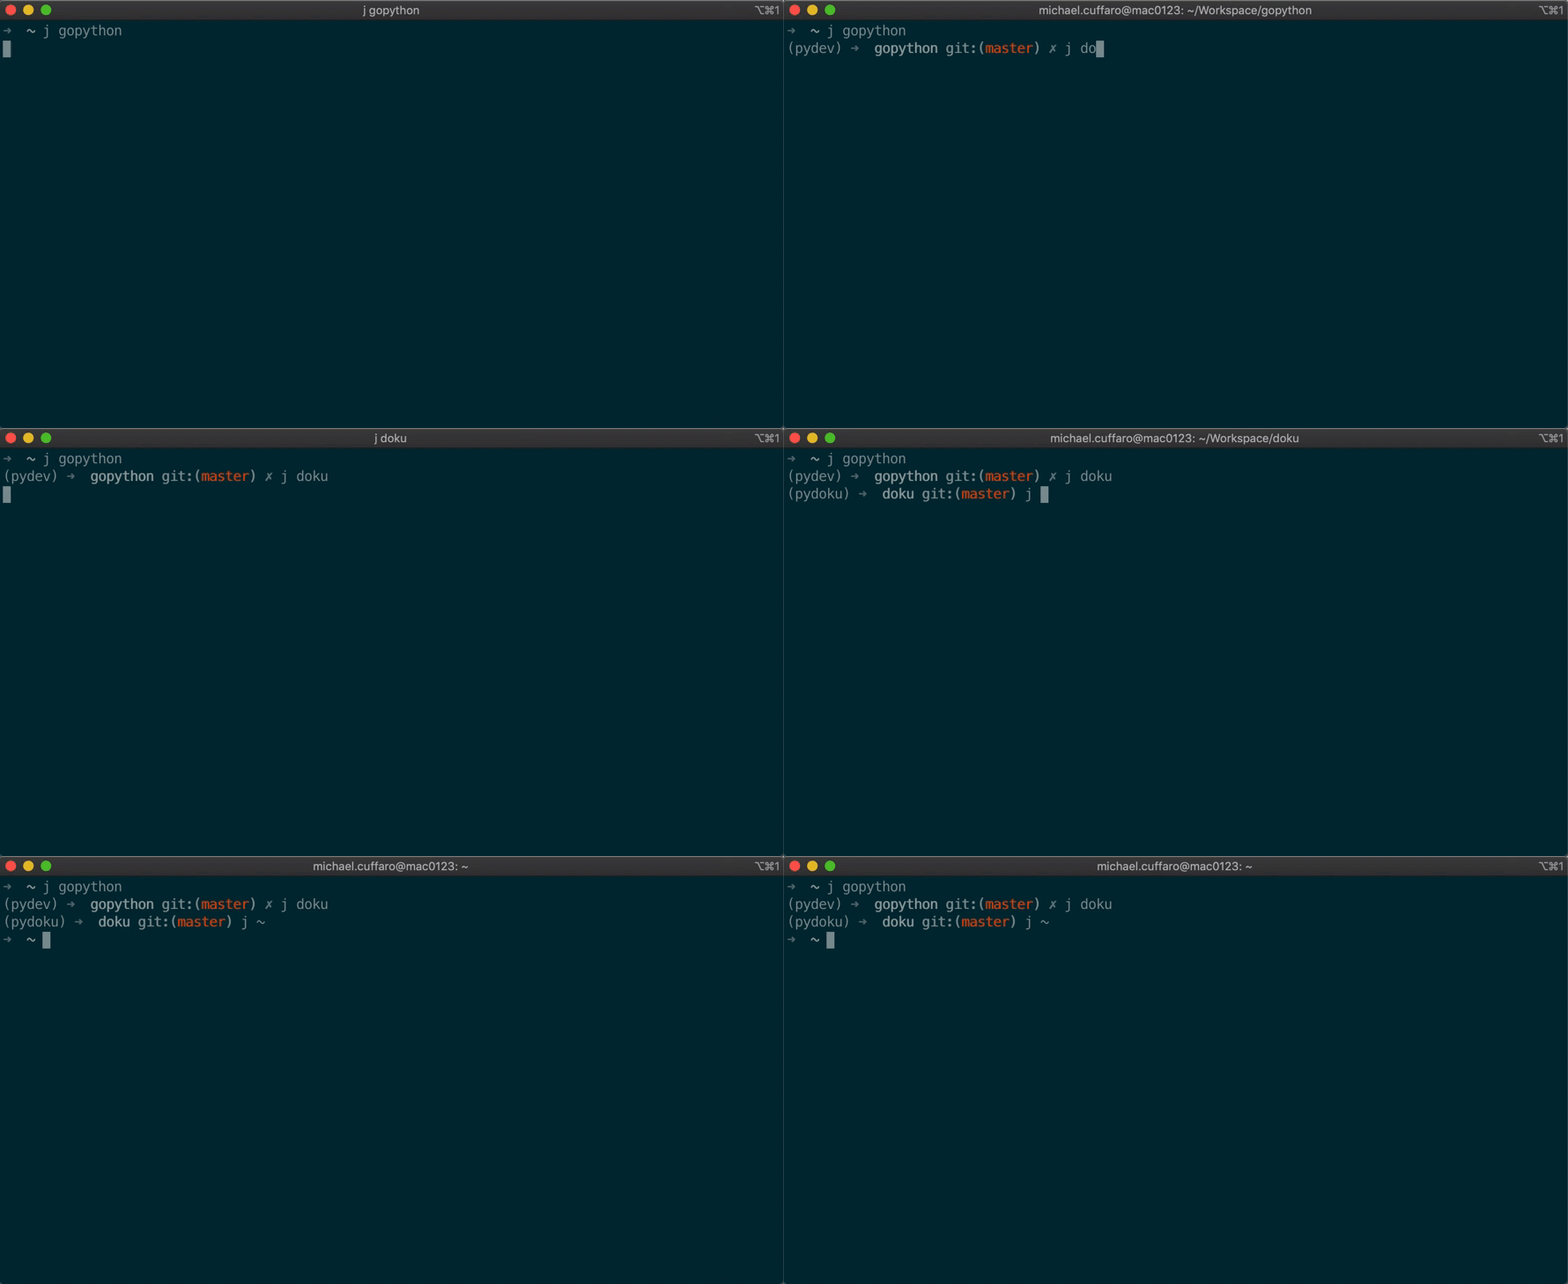
Jump is a shell integration which uses fuzzy search to help you move around your directory structure more easily. It is a Go application that essentially records your keystrokes and your most used directories into its own database. Jump allows you to do stuff like this:

Installing Jump:
On Mac:
| |
After which, you need to add the following line in your zshrc
| |
When you first use Jump it won’t do much, as its database is empty; it will learn as you use it.
An alternative to jump, in case you don’t want to install Go stuff on your machine (why?), is z, which is entirely written in shell script.
Moving around seemlessly between projects
Now you can jump anywhere in your directory tree, and switch virtual environments as your heart desires. But how do we make the experience even more seamless?
We can hack our bashrc / zshrc file by adding a snippet of bash, which will run every time we cd into a new directory, checking the presence of a .venv file.
Said .venv file will simply contain the name of the virtual environment we wish to activate.
| |
We then need to modify our zshrc and add this (admittedly hacky) snippet:
| |
Alternatively to the above ugly bash hack, we can simply use the ZSH Plugin for virtualenvwrapper, which does pretty much the same thing, but better. :)
Also with the plugin, Python environments with the same name as the repository will be automatically activated on cd, unless we use the .venv method as described.
After we source our rc file (or close and reopen our terminal), We can jump around like this:

The inspiration for this article comes from this blog post